After all, a new post!
The other day, I found myself messing around with MongoDB and I was wondering if I could find some time to write a blog post about it; this one isn't anything special, but I hope it 'll be the start for a bunch of MongoDB tutorials.
The goal of this post is not to demonstrate the functionality/usage/advantages of MongoDB, so, if you need further assistance, you should refer to the official docs.
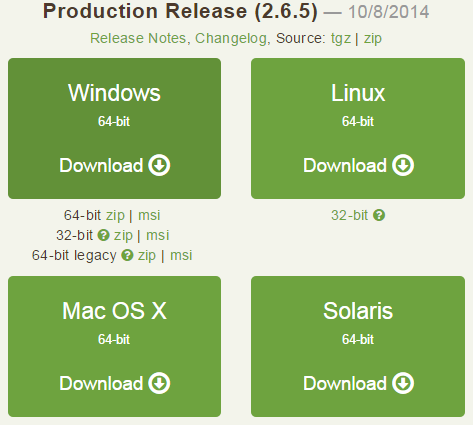
You can download both server and client for MongoDB from a single
The installer, by default creates a new directory named
As with MySQL, we first have to start the server application; what we 're looking for is a similar to

After ensuring the existence of it, you can open a command prompt and after locating the working directory of it to the specified path of

I marked with pink dots the two main points of the service start:


Ok, connection was successful!
Now, let's go back to our client and see a single object, that exists in the

And that was it!
For more details about the last command and its results, stay tunned!
The other day, I found myself messing around with MongoDB and I was wondering if I could find some time to write a blog post about it; this one isn't anything special, but I hope it 'll be the start for a bunch of MongoDB tutorials.
The goal of this post is not to demonstrate the functionality/usage/advantages of MongoDB, so, if you need further assistance, you should refer to the official docs.
You can download both server and client for MongoDB from a single
.msi file, from the official downloads page. For my case, I chose the 64-bit version of it:The installer, by default creates a new directory named
MongoDB [version] Standard under the Program Files directory.As with MySQL, we first have to start the server application; what we 're looking for is a similar to
mysqld.exe executable; the location where we should search for it is pretty obvious, under the \bin subdirectory of the fore-mentioned, newly created directory:After ensuring the existence of it, you can open a command prompt and after locating the working directory of it to the specified path of
mongod.exe, start the service:I marked with pink dots the two main points of the service start:
- MongoDB runs at port 27017.
- There are initially 0 active connections.
Let's connect from a client to it:
As you noticed, too, it auto-connects to a database, named
test.
I saw a blue indicator filling my left tab (this is my MongoDB started server), after giving the connection command, so let's see what's new:
Now, let's go back to our client and see a single object, that exists in the
things collection of test database:And that was it!
For more details about the last command and its results, stay tunned!